
Edinburgh Itinerary 3 Days: A Practical Plan
Use this Edinburgh itinerary 3 days plan for honest sightseeing, transit tips, free stops, museums, budget notes, and what to skip.

Mobile Passport Control can cut a frustrating arrival task down to a phone-based form, but one rule catches many travelers: you can’t submit while you’re still in the air. We need to wait until the plane has landed at the selected U.S. entry point. Here’s the full process, including who can use MPC, what to prepare before departure, and what happens after submission.
Before learning how to use mobile passport control, check two things: your immigration status and your arrival airport. MPC is voluntary. It doesn’t replace your passport, and it only works at supported CBP entry locations.
The program is available to U.S. citizens, lawful permanent residents, certain Canadian citizen visitors, and returning Visa Waiver Program travelers with an approved ESTA. If you don’t fit one of those groups, you’ll need to use the standard inspection process or another program for which you qualify.
Next, confirm your airport and terminal. The airport must appear in the supported entry location list. Choose the specific CBP port where you’ll clear U.S. entry, not simply the city on your itinerary. A connection can make this confusing. If you fly into Toronto, connect in Chicago, and enter the United States in Chicago, Chicago is the port that matters.
You’ll also need a compatible mobile device, including an Android device. There isn’t a desktop version or a version for another operating system. We suggest checking the airport before your travel day because an airport can sometimes refuse to process the app even when it appears on a supported list.
Review the Mobile Passport Control app for the program’s eligibility requirements and supported locations. Download the official app only. A passport shortcut that asks for payment or sensitive details outside the official app deserves a hard pass.
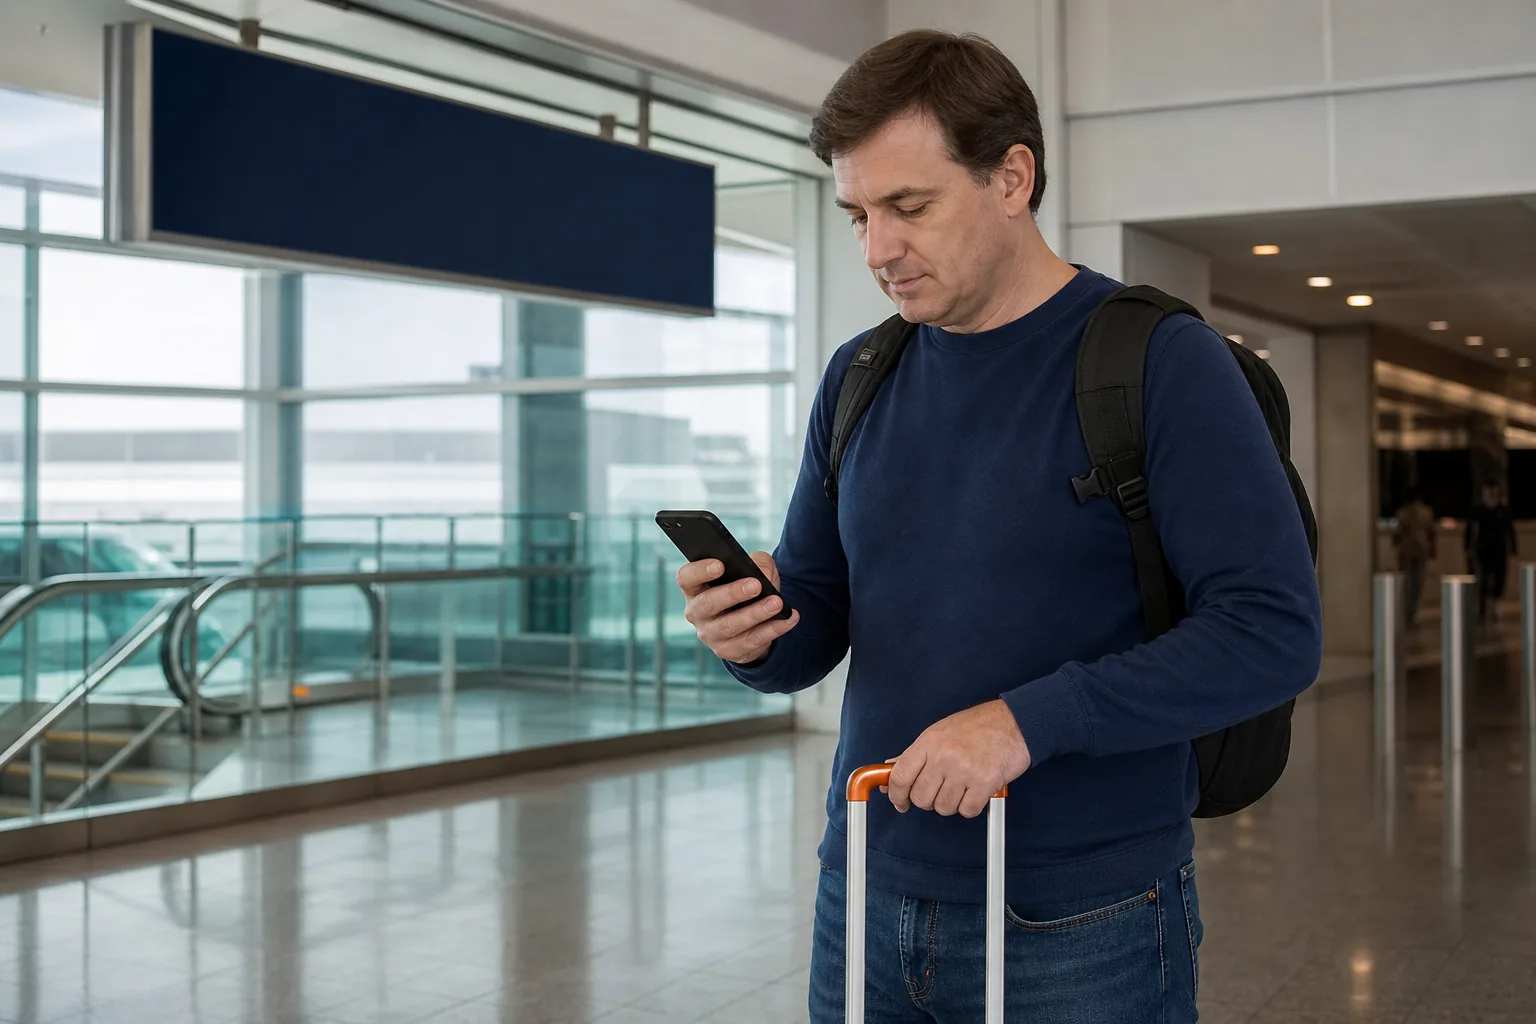
Key Takeaway: Confirm your status, device, CBP entry port, and terminal before your flight leaves.
To use mobile passport control, start with one primary profile on your phone. This profile stores the main traveler’s passport details and biographic information on the device for later trips.
Install the app on iOS or Android, then choose the option to create a primary profile. Have the traveler’s passport open. Enter the requested details carefully, or use the app’s scan function if it appears on your device. Check every field against the passport before you save it.
The primary profile belongs to the person managing the submission. That person can add other eligible travelers who are entering the United States together. The app allows up to 11 additional group members. Each person still needs to meet the program rules.
Group submissions can help when parents travel with children or when several people share one itinerary. Keep everyone together after landing, though. The CBP officer may ask questions or request another photo for someone in the group.
A primary profile stores travel documents and biographic information for future travel. Review the app’s current privacy details before you agree.
One small snag catches frequent travelers: the app doesn’t currently provide a field for a Known Traveler Number. MPC isn’t a replacement for every trusted traveler benefit, so don’t assume your KTN will transfer into this process.
Dream Book Travel helps readers sort travel admin before a trip, rather than leaving every task for the airport. If you’re also reviewing the card you use abroad, our international travel credit card guide covers fees and travel protections without pretending every traveler needs the same card.
By now, you should have one saved primary profile and any eligible companions added to the same device.
Before you submit a mobile passport control form, select the trip details and answer the CBP inspection questions. You can do most of this work before takeoff.
Open the saved profile. Select the CBP port of entry for your arrival. Add the terminal if the app asks for one. Then select the group members who are traveling with you on that entry.
Read each inspection question closely. Answer based on the facts of this trip. The app asks you to certify that your answers are truthful and accurate, so don’t tap through the form on autopilot.
You can save a completed form for later submission. That is useful when you’re sitting at the gate with time to spare. It doesn’t mean the form is ready to send. The actual submission must wait until you land at the selected airport.
That distinction matters. Many travelers assume they can send the form while airborne, then walk straight to the MPC line. Tap “Yes, Submit Now” only after you have landed.
We also suggest checking your phone before boarding. Charge it. Keep the app installed. Make sure you can open the saved profile. Airport Wi-Fi may be slow, and a dead battery is a poor travel plan.
When you reach this point, the form should hold the right port, terminal, travelers, and answers. Don’t submit yet. Save it, then wait until the plane reaches the gate area or another point where the app confirms you’ve landed.
Pro Tip: Write down the selected arrival port before you fly. It gives you a quick check if the app loads slowly after landing.
The key action in this part of the mobile passport control process is simple: land first, then submit. Open the saved trip only after arrival at the selected U.S. entry point.
Tap “Yes, Submit Now.” The app will ask for a clear, unobstructed photo of the primary traveler. It will then request a photo for every group member included in the submission.
Take each photo inside the app. Don’t assume you can pull an old picture from your camera roll. Fresh photos are part of the submission, even when the other travel details are saved.
Use a well-lit spot if you can find one. Face the camera directly. Remove anything that blocks the face, and keep other faces out of the frame. This can be awkward in a crowded customs hall, so don’t wait until the last second if you can take the photos soon after leaving the aircraft.
Frequent travelers can save a favorite trip to reduce data entry next time. That shortcut has limits. You’ll still need new photos and must confirm the declarations for each trip. The app saves trip information, not a permanent photo waiver.
There is also no guaranteed time for this stage. Public instructions describe the actions but don’t provide a set number of minutes for photo capture or receipt processing. We treat that as a planning gap, not a promise of instant clearance.
If you’re carrying a second phone or traveling with a partner, keep the submission on the device holding the primary profile. Splitting the group across phones can make the officer’s check less clear.
Once every photo is accepted, review the group one more time and send the form. A mistyped port or missing traveler can cause a delay at the inspection point.
Before you set off, you might also want to review your flight payment setup. Dream Book Travel’s guide to cards for booking flights compares flight-related fees and protections, which can matter when an arrival delay affects the rest of your itinerary.
The milestone here is a completed post-landing submission. Now watch for the virtual receipt.
After CBP processes the form, the app sends a virtual receipt to your device. Follow that receipt rather than guessing which line to join.
Keep your passport in hand. MPC doesn’t replace it. You should also have any other relevant travel documents ready, since the CBP officer may ask to see them.
Look for the lane or signs that match Mobile Passport Control at the airport. Staff may direct you to a specific queue. Airport layouts change, and a sign near baggage claim may point you somewhere different than expected.
At the inspection point, the CBP officer completes the process. The officer can ask for more information if needed. They may also request another photo of you or someone in your group for identity checks.
A receipt isn’t an approval that lets you skip inspection. It tells CBP that your form reached the system and gives the officer a way to review it. Answer questions directly. Keep the group together until everyone has finished.
Receipts can also have an active window, so don’t treat the receipt as something to save for later in the terminal. Use it as soon as the app directs you to the MPC line.
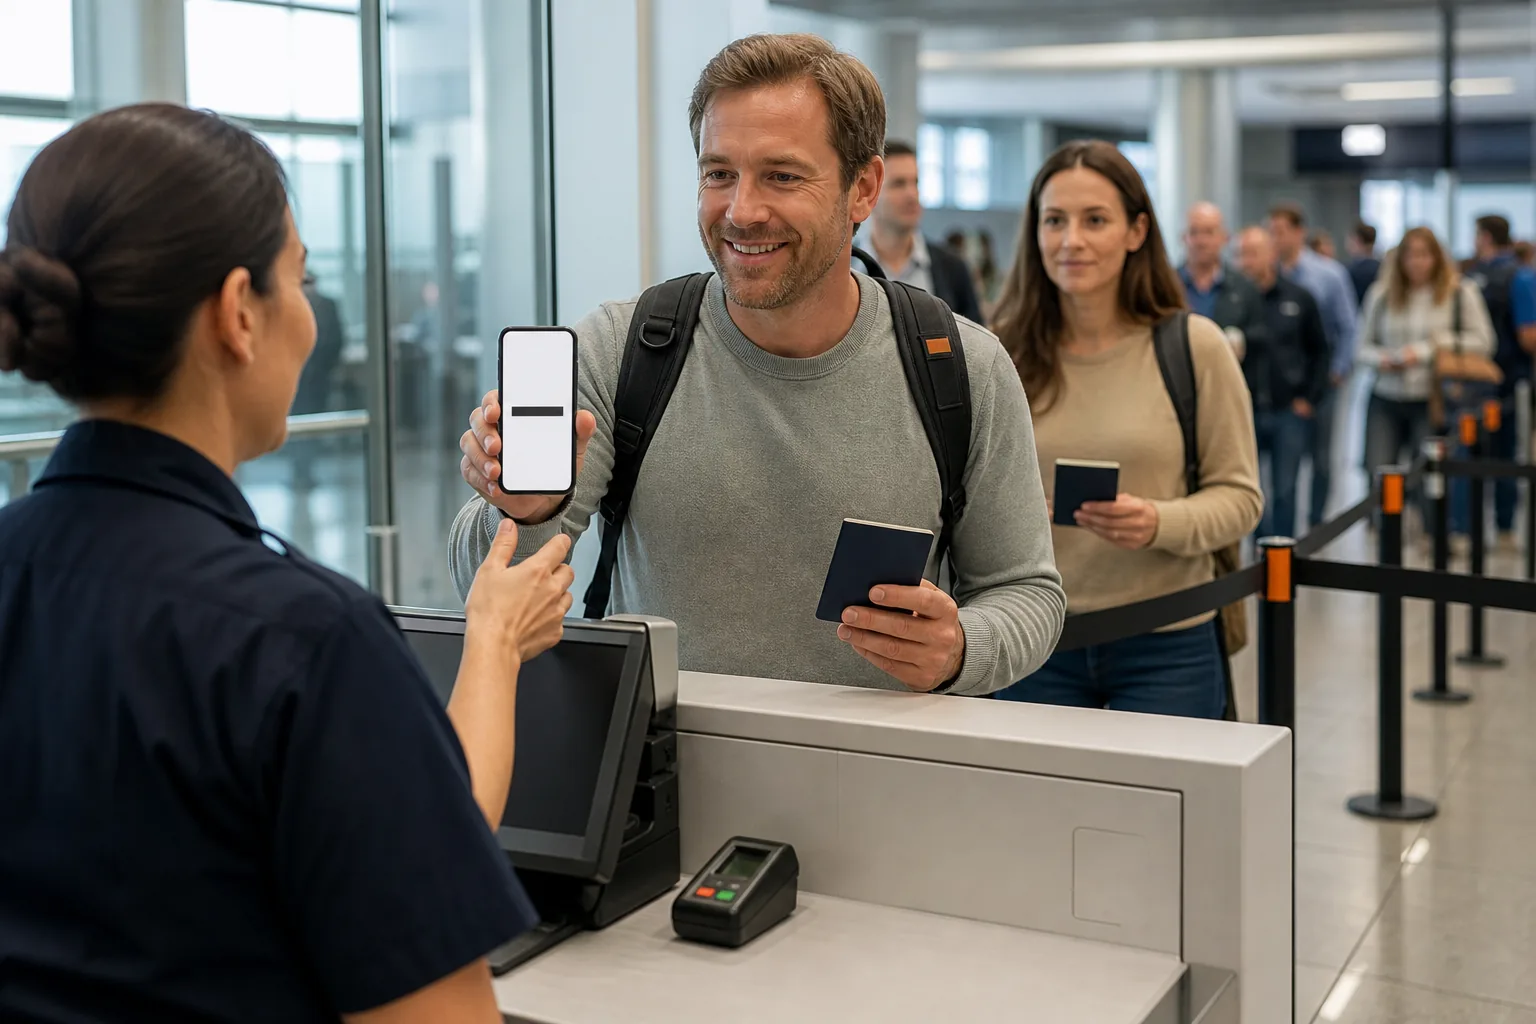
If the app fails, the receipt won’t load, or the airport staff says the lane isn’t operating, follow the instructions from airport or CBP staff. Have your passport ready and use the standard process if directed. That backup is part of a sensible travel plan.
We recommend testing the full setup at home before your first trip. You can’t complete the final send until landing, but you can make sure the profile opens and the group information looks right. That small check removes one avoidable problem from a busy arrival.
Dream Book Travel’s approach is simple: use a tool when it helps, but keep a backup plan when a government process depends on airport systems and an officer’s final decision.
No, you must submit Mobile Passport Control after you land at the selected U.S. entry point. You can complete the travel details and inspection questions in advance, then save the form. Wait until arrival before tapping “Yes, Submit Now.”
Mobile Passport Control is available to U.S. citizens, lawful permanent residents, certain Canadian citizen visitors, and returning Visa Waiver Program travelers with an approved ESTA. Eligibility depends on your status and trip. Check the current rules before travel because having the app installed doesn’t make you eligible.
No, Mobile Passport Control doesn’t replace your passport. You must still carry your passport during the trip and show it during the CBP inspection. The app sends your travel details and photos ahead of the officer’s review, but the officer still completes the inspection.
Yes, one primary profile can include up to 11 additional eligible travelers. Add each person who will submit together, then capture a new photo for every traveler after landing. Keep the group together at inspection in case the CBP officer needs information from one member.
No, Mobile Passport Control works only at supported CBP entry locations. Select the correct port and terminal in the app before you submit. Even a listed airport may not process the app at a particular moment, so follow airport staff if they direct you to another line.
MPC is worth setting up when you qualify and your arrival airport supports it, but it works best when you treat it as a faster form submission, not a replacement for passport inspection. Create the profile before your trip, save the form during the flight if you wish, then submit only after landing. Dream Book Travel recommends checking the port and app setup before departure, so your next travel day starts with fewer surprises.
Use this Edinburgh itinerary 3 days plan for honest sightseeing, transit tips, free stops, museums, budget notes, and what to skip.
Find the best areas to stay in London for tourists, with honest advice for first-time visitors, culture lovers, foodies, and theater fans.
Find the best Greek islands for families by travel style, beach access, activities, and travel-day tradeoffs. Honest picks and planning notes.